How to Add a Custom CSS to the Widget
Customizing your TicketingHub widget with CSS makes it look like it’s part of your website.
Here’s how to do it in a few easy steps:
Sample Custom Widgets
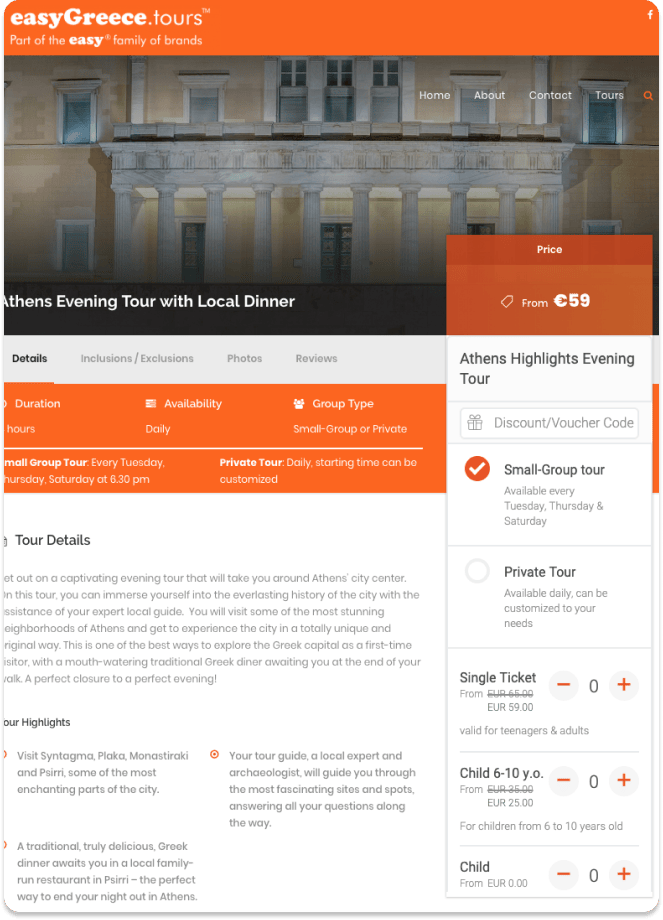
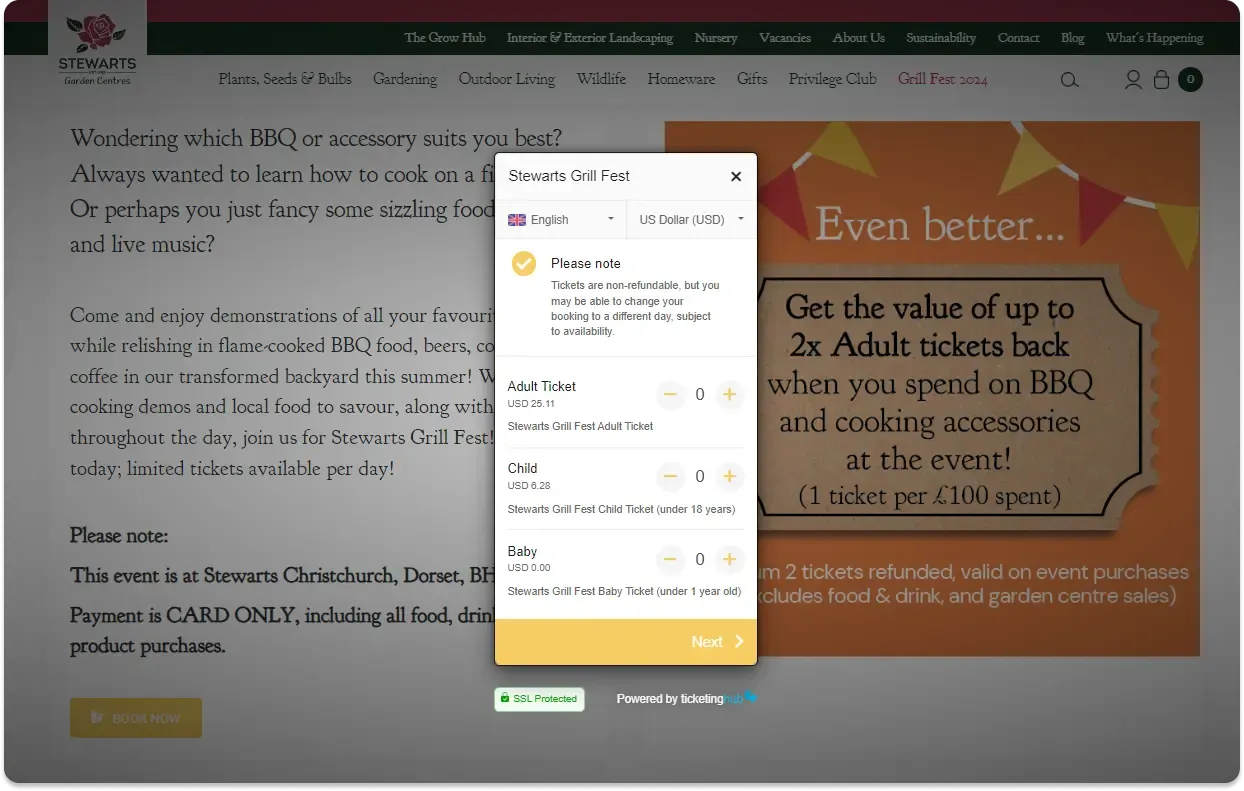
Below are images showing how a custom CSS can change the appearance of your widget. Notice how the customization aligns the widget’s design with the website’s aesthetics.
Sample No. 1
Sample No. 2
Add Custom CSS to Widget
1. Create and Upload Your CSS
Create a CSS file with the styles you want for your widget. Once ready, upload this file to your server.
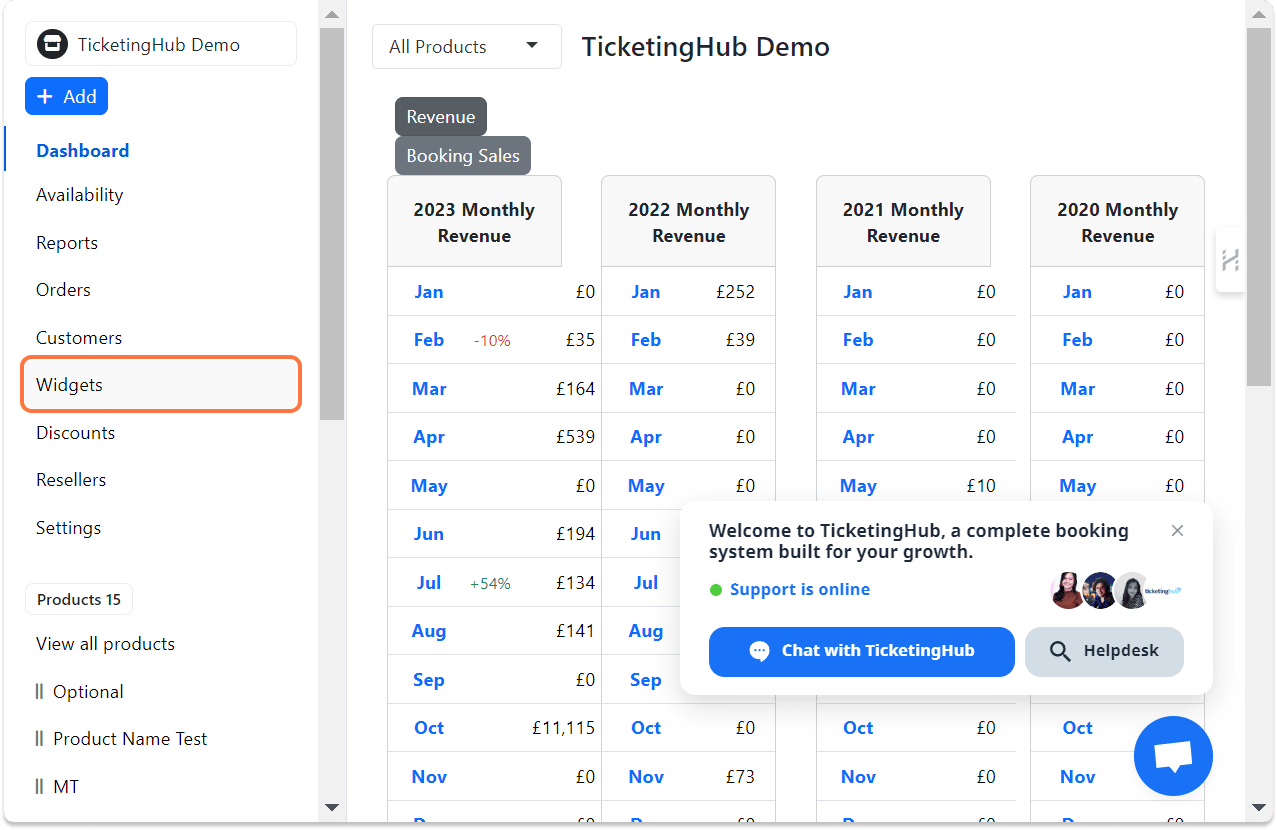
2. On your TicketingHub dashboard, click on Widgets
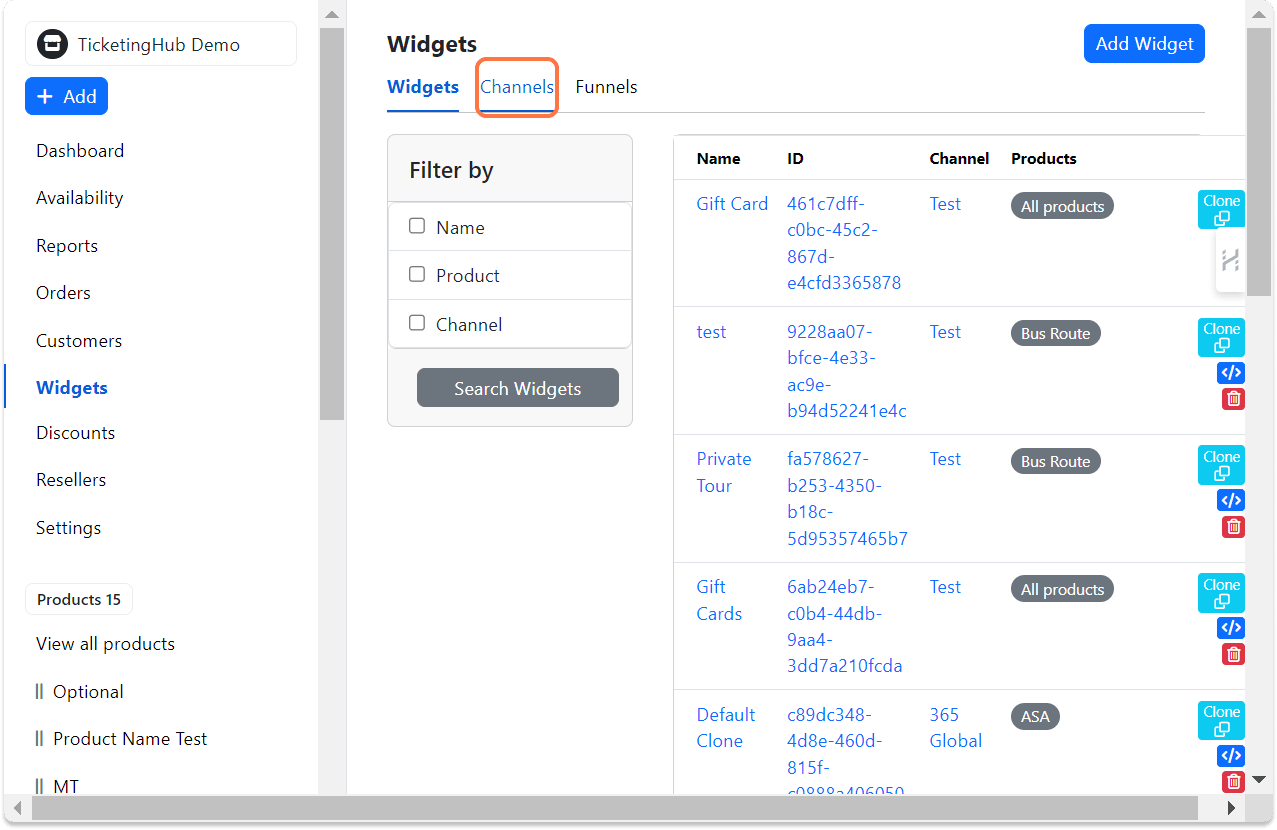
3. Click on Channels
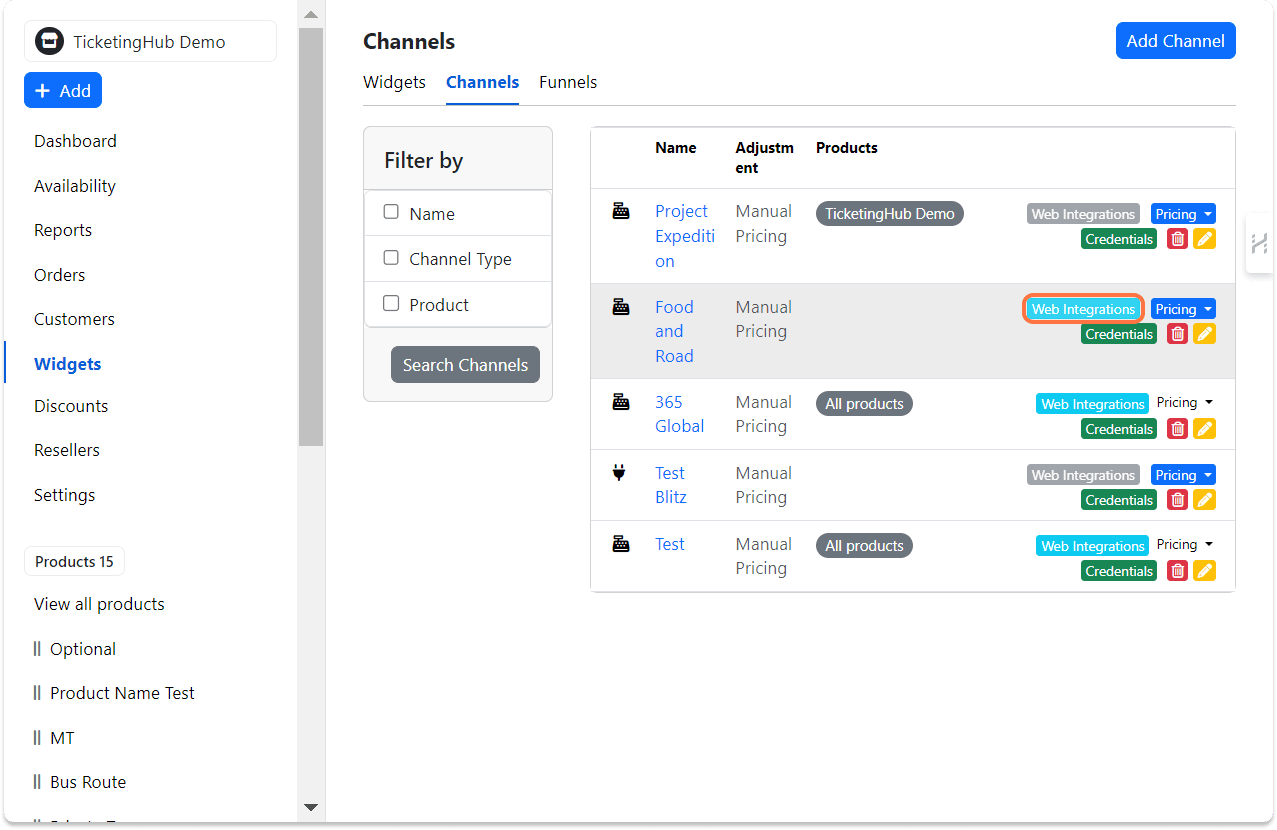
4. Click on Web Integrations of the widget you want to edit
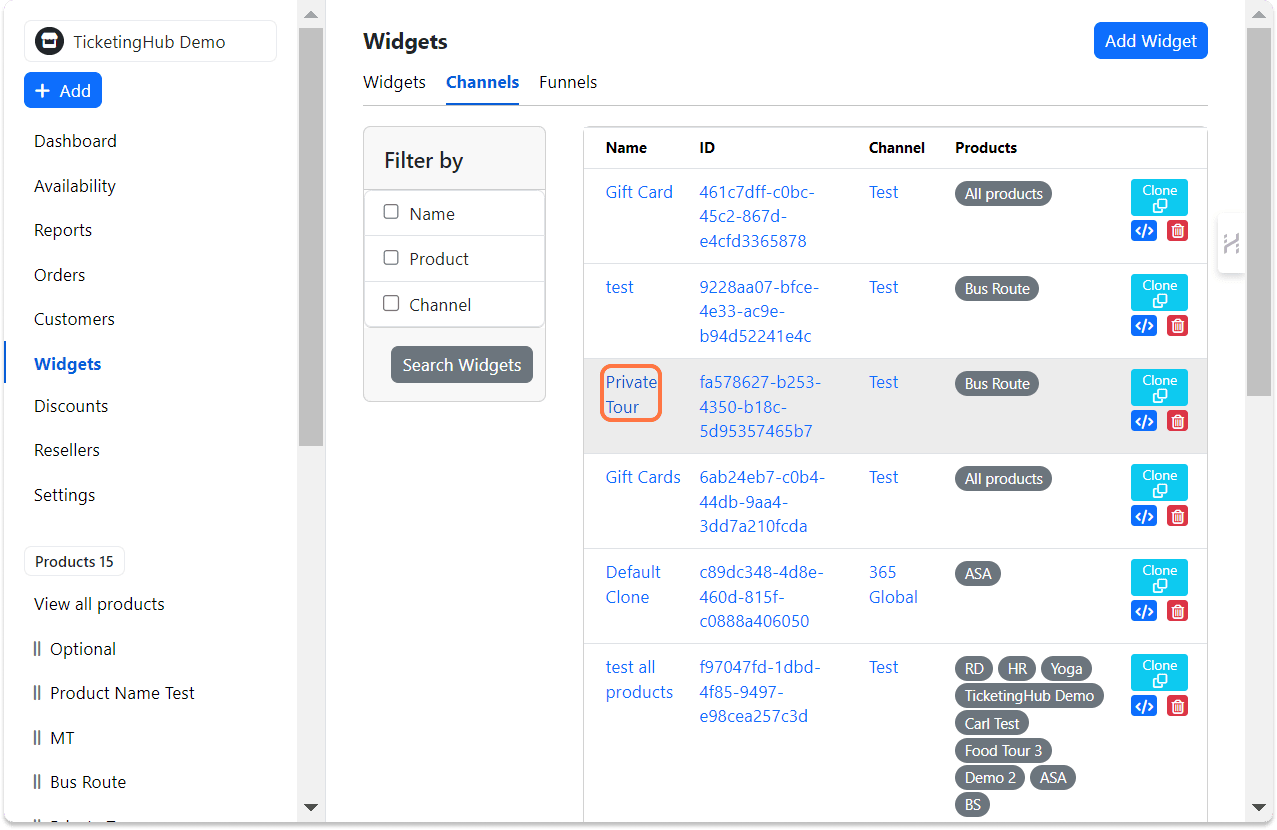
5. Click on the tour’s widget
6. Go to Settings
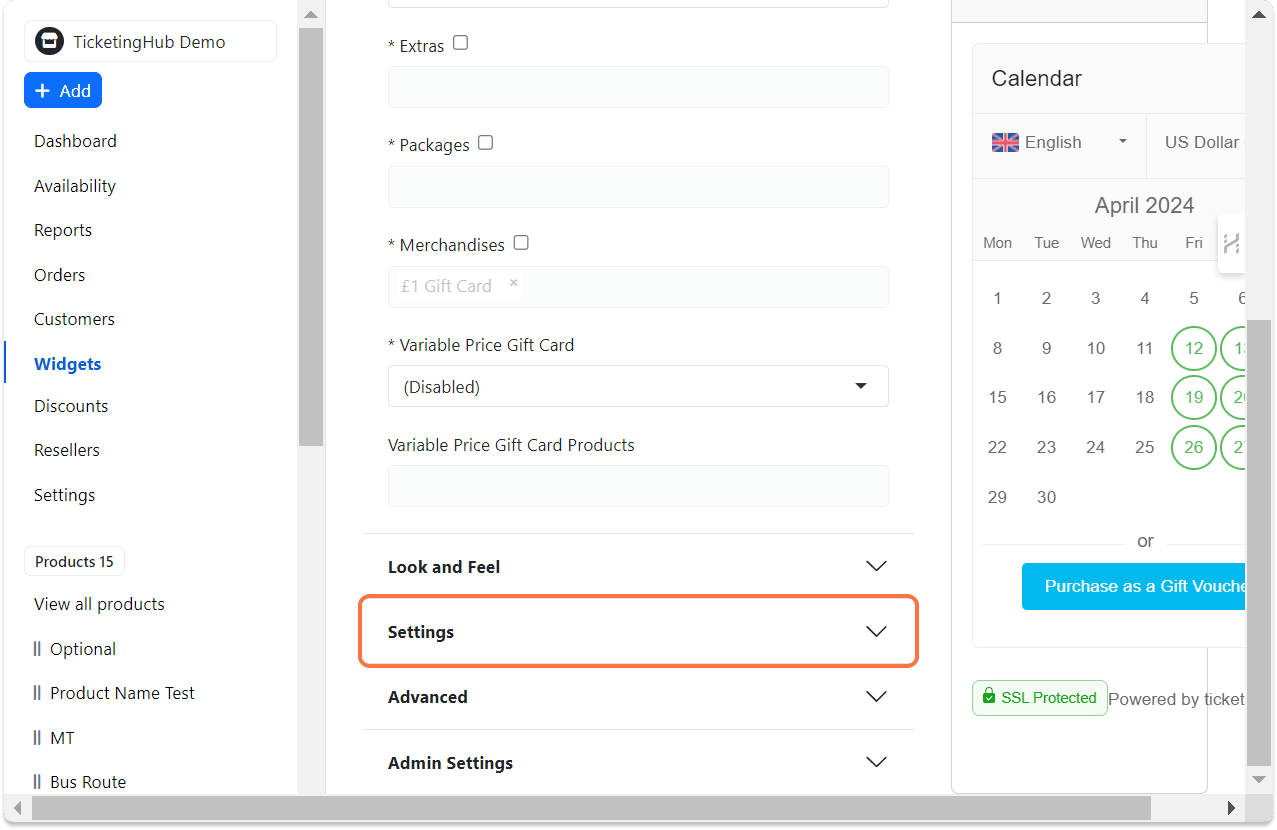
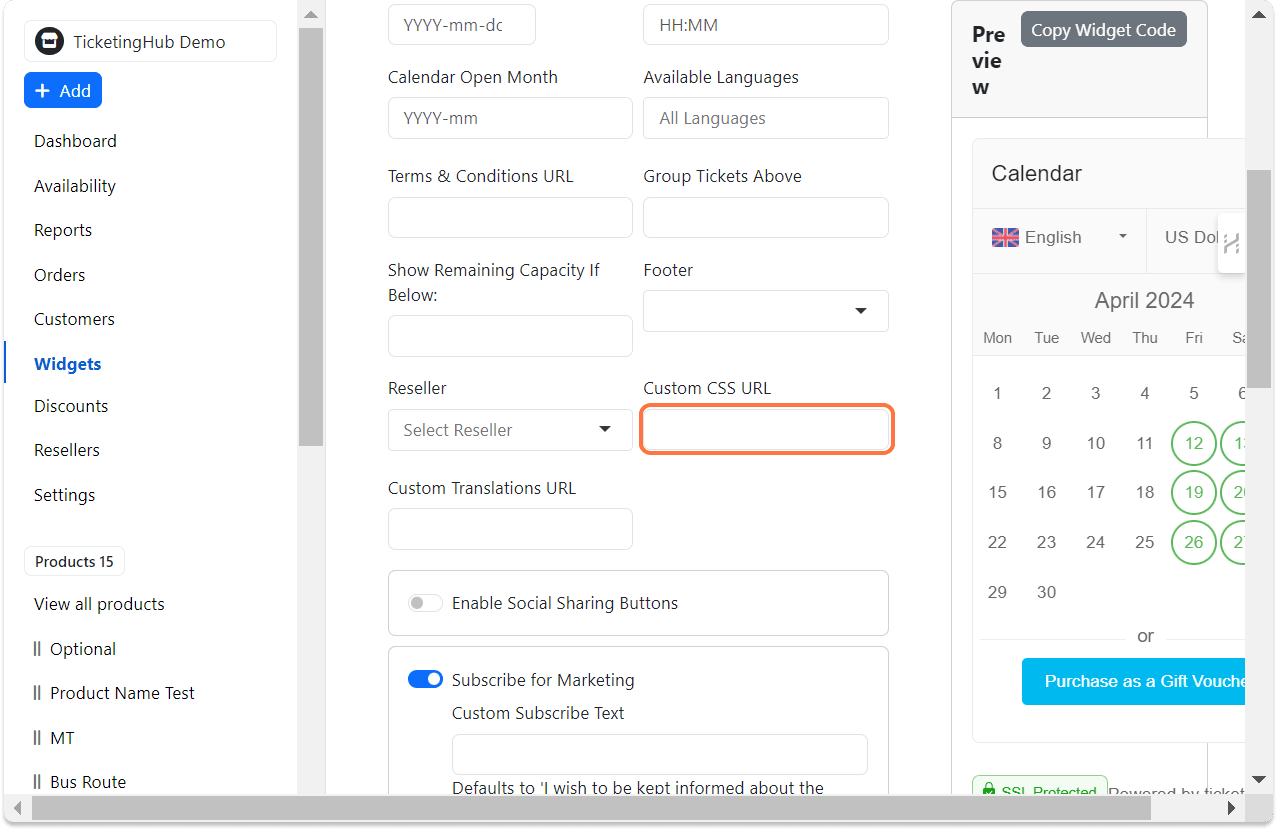
7. Find the Custom CSS URL box and paste your CSS URL
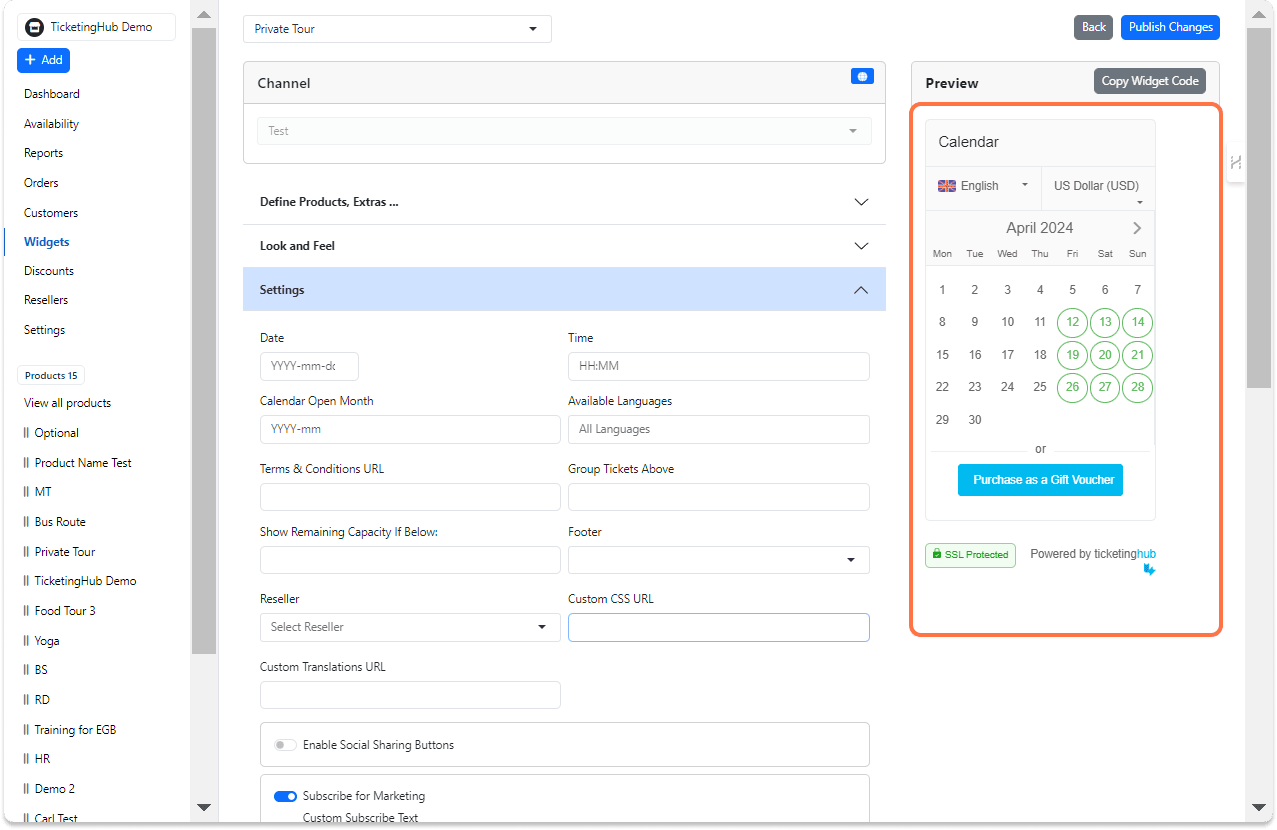
8. Preview and adjust
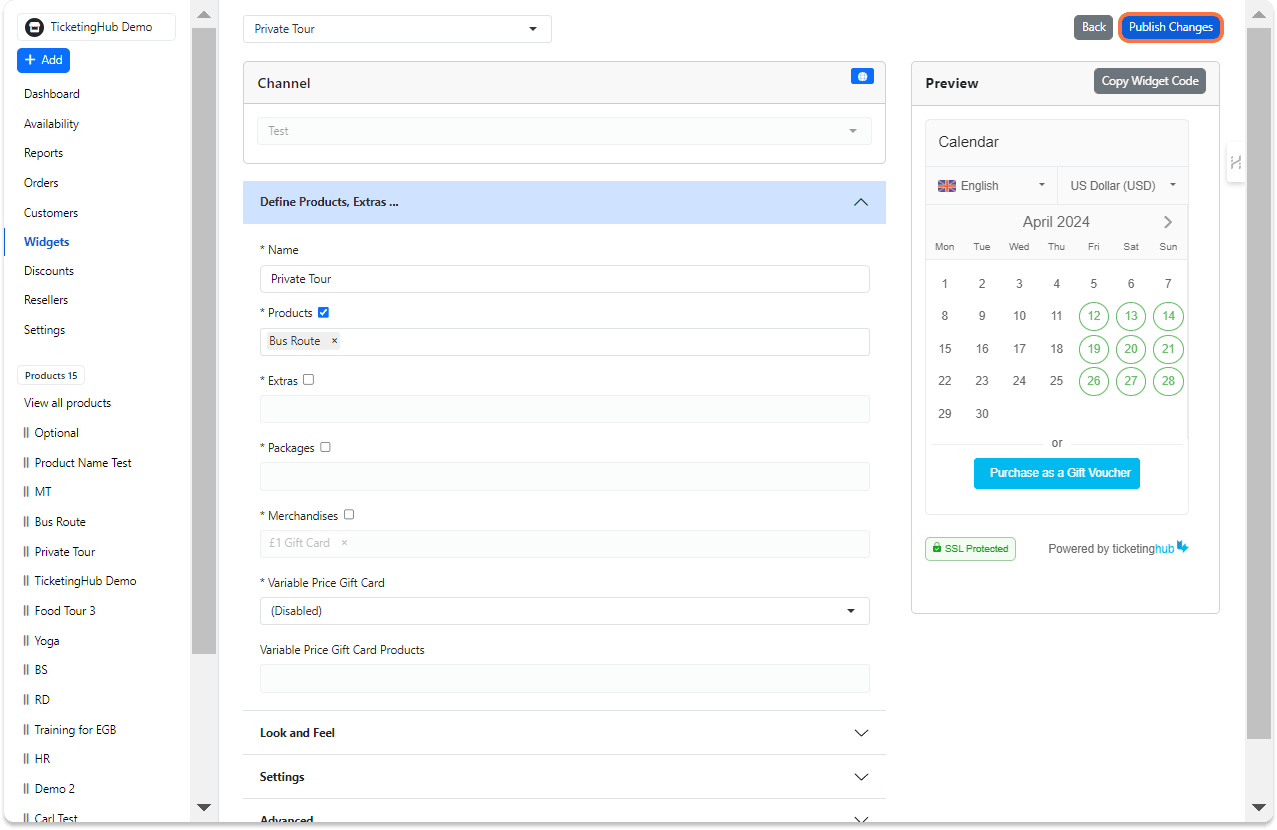
9. When done, click on Publish Changes
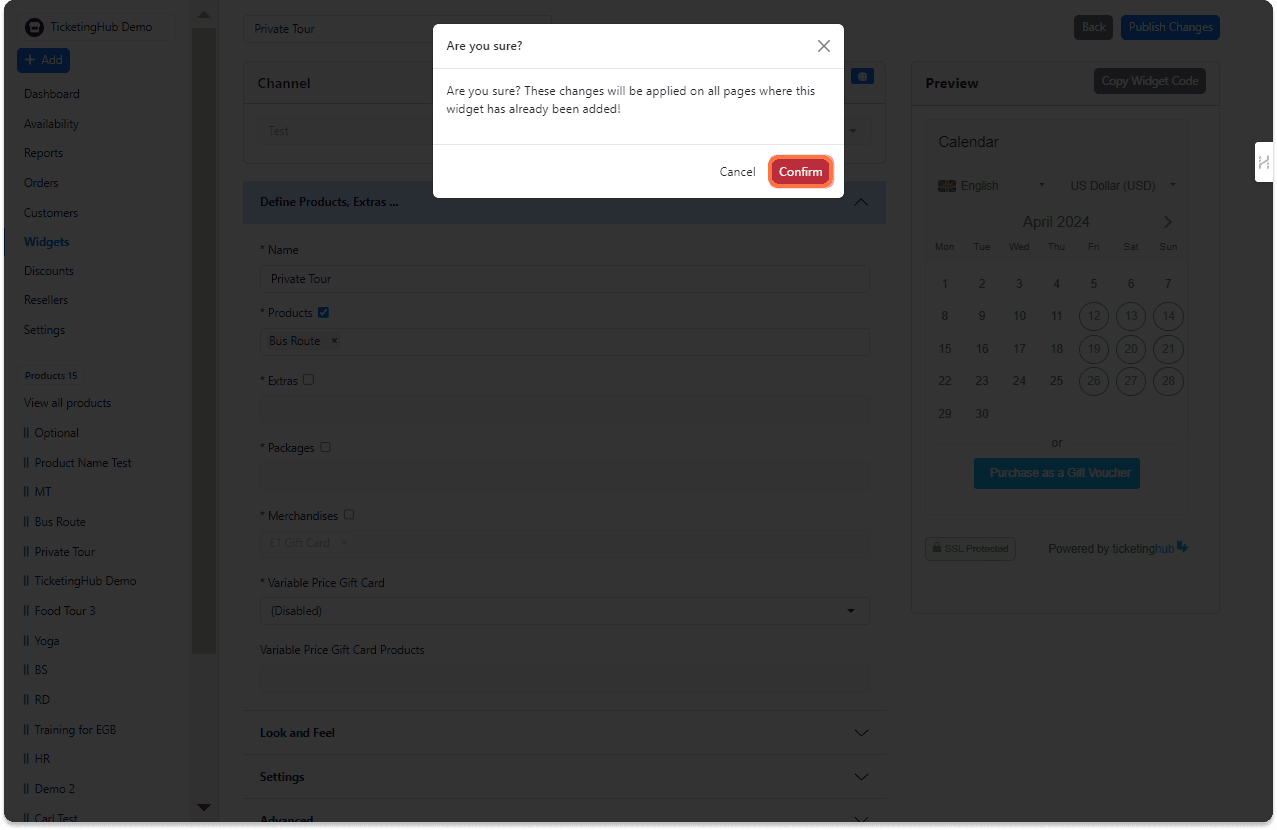
10. Click on Confirm to finalize changes