How to Set Up TicketingHub Account in Under 5 Minutes
Date Updated: December 31, 2024
So, you’ve decided to dive into the world of TicketingHub—great choice! Whether you’re gearing up to sell tickets for food tours, escape rooms, or a llama yoga retreat (yes, that’s a thing), this guide is here to ensure you’re up and running faster than you can say “seasonal pricing.”
Perfect for first-timers and non-tech wizards, this walkthrough is your golden ticket to setting up your account, creating products, and dazzling customers in just five minutes flat. Let’s get cracking!
Steps on How to Set Up Your TicketingHub Account |
|---|
Steps to Set Up Your TicketingHub Account
1. Create a New Product
- Click on Add, then select Product below.

- Provide details such as:
- Product Name (e.g., Food Tour).
- Country and Time Zone.
- Product Category.

- Click on Create Product to save.
2. Set Up Ticket Types
After creating the product, this page will appear:

- Click on Add Ticket.
- Fill in with the necessary details:

- Ticket Type (e.g., Adult, Child, etc.).
- Ticket Price (e.g., £40 for adults, £20 for children).
- Set Limits (e.g., up to 10 tickets per order).
- Add any restrictions (e.g., valid for children under 16 for Child tickets).
- Save the ticket.
3. Configure Availability
- Click Availability, then Add Season.

- Create a season:
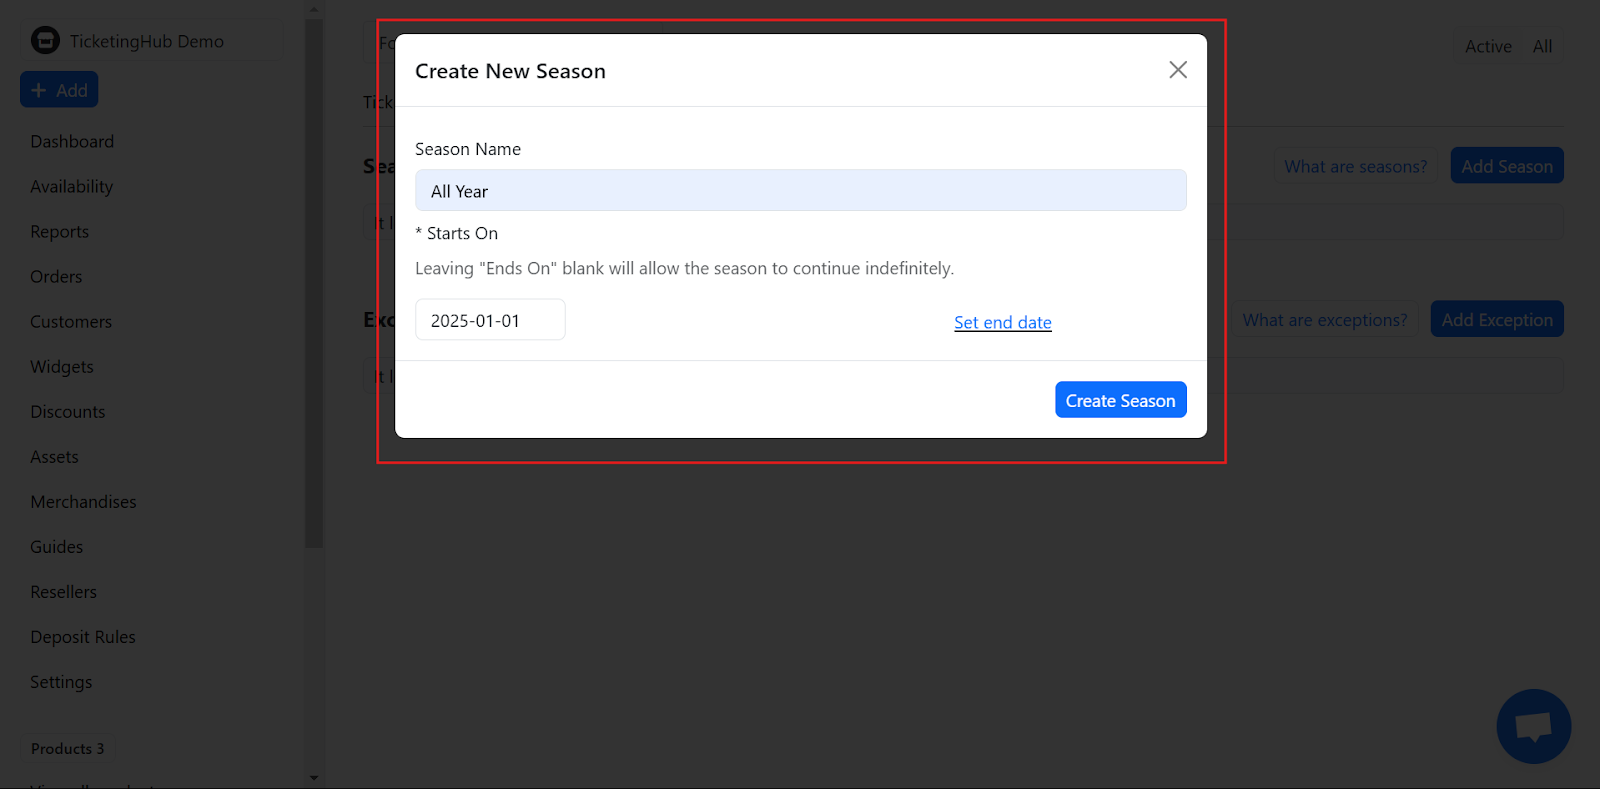
- Season Name (e.g., All Year, Winter, Summer).
- Set a Start Date and optional End Date (if left open, the season will continue indefinitely).
- Save the season.
- Add time slots and capacities:

- Click Add Capacity.
- Add time slots and capacity (e.g., 10:00 AM for 10 people).
- Adjust or remove time slots as needed:

- Click the garbage bin icon to delete.
- Click the pencil icon to edit.
- Click on a specific capacity within a day to delete or customize the capacity for that time slot.
- Duplicate a season as needed:

- Click Duplicate.
- Set the name, start date, and end date. (e.g. Summer, from June 1-Aug. 31, 2025)

- All the times and capacities will be duplicated from the original one. Adjust times or capacities for the new season.

4. Adjust Seasonal Pricing
- Go back to Availability.

- Click on Tickets and select Seasonal Pricing.

- Adjust prices for specific seasons, ticket types, or times:
- Use this tool to set different rates for weekdays, weekends, or busy seasons.

5. Manage Emails and Feedback
- Click on Emails.

- Edit auto-generated emails:
- Click View and Edit to customize confirmation messages with bold text or additional details.

- Use the feedback email funnel:

- Collect customer ratings.
- Automatically routes negative feedback for internal handling.
- Direct positive reviews to platforms like TripAdvisor or Google.
6. Configure Account Settings
- Click Settings.
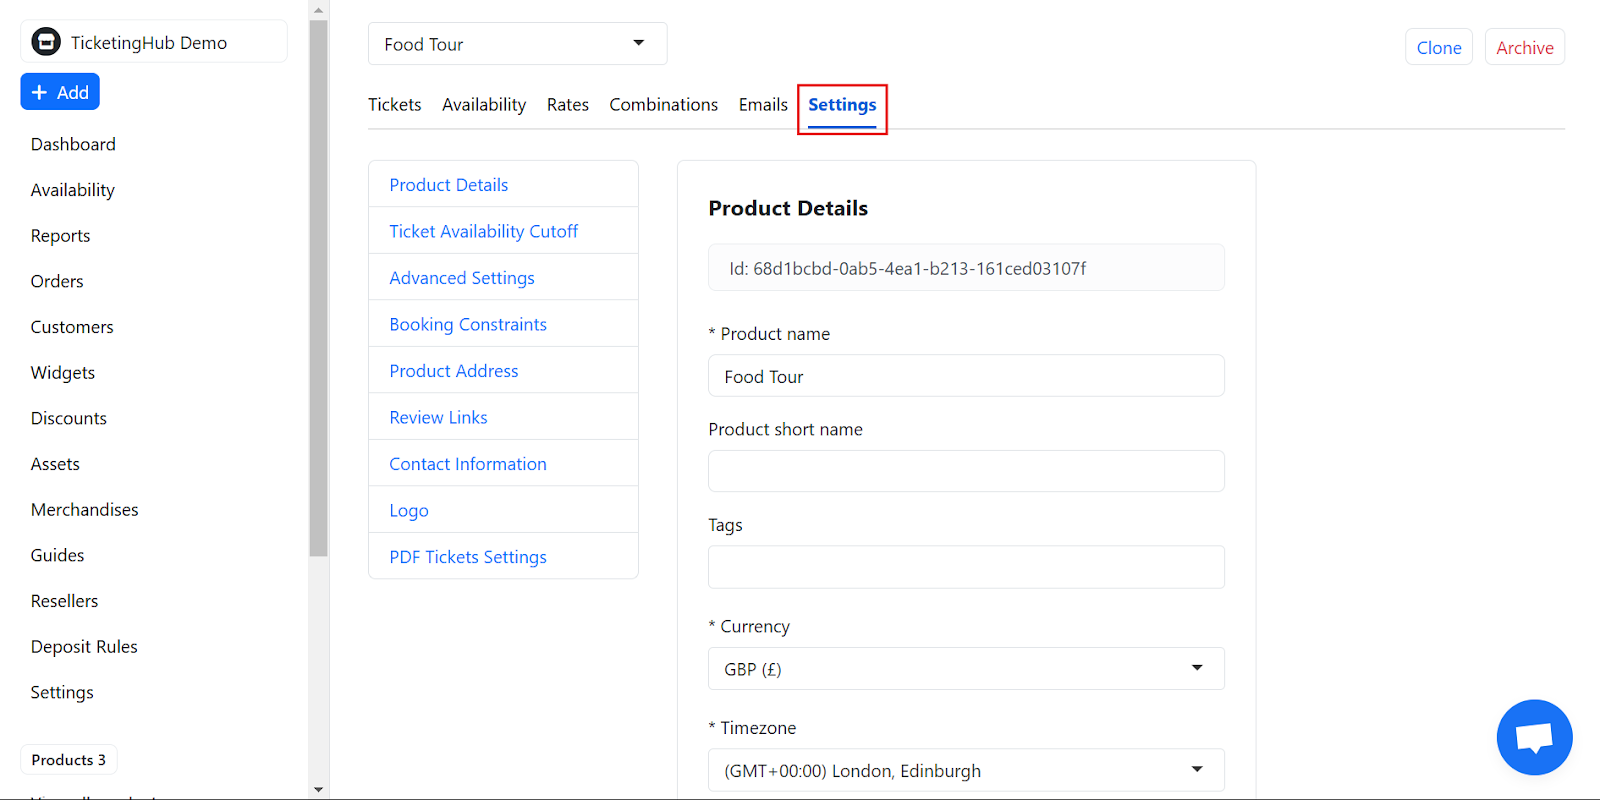
- Customize your account preferences:
- Define cutoff times for bookings.
- Set voucher policies (e.g., validity periods).
- Add your office address and contact information.
- Set booking constraints (e.g., requiring adult tickets with child tickets).

- Update any additional details in the relevant Settings categories.
7. Create and Customize Widgets
- Click Widgets, then Add Widget.

- Input product details under Define Products, Extras…

- Customize the widget under Look and Feel.

- Match widget colors to your branding.
- Choose between a button or an embedded widget.
- Enable options for multiple currencies.
- Copy the widget code and add it to your website as an HTML element.

- Click Publish Changes to save.
8. Activate Integrations
- Go to the Settings on the side and select Integrations.

- Connect your payment gateway:
- Activate Stripe or any preferred options.
- If using multiple gateways, choose a primary one.
9. Clone Products
- Save time by cloning existing products:

- Select the product and go to its Settings.
- Click Clone to create a copy.
- Modify details for the new product:
- Update the name, currency, ticket prices, availability, or schedule.

- Update widgets for the cloned product as needed.
And there you have it—your TicketingHub account is good to go! In just minutes, you’ve set up products, tickets, and availability like a pro. Now, it’s time to sit back and let the bookings roll in. You’ve got this!
** **
Updated on: 31/12/2024
Thank you!